Screen recording has become an essential tool for many professionals and individuals. Whether it’s for creating tutorials, recording gameplay, or documenting software bugs, the ability to capture what’s happening on your screen is invaluable.
If you have a Dell laptop, there are several ways you can record your screen, ranging from built-in Windows utilities to powerful third-party applications like Zight.
In this article, we’ll guide you through the different ways to screen record on a Dell laptop. We recommend using superb software for screen recording, so we’ll also take you through using Zight for comprehensive recording needs.
Let’s jump right in!
Better Than the Native Tools: Screen Record on Dell with Zight
In your workplace today, you want a screen recorder that also lets you annotate and edit your files – these are advanced features you won’t find in many native tools. A good one also lets you collaborate on the file with colleagues!
That’s why we recommend Zight for your Dell laptop. It comes as a Windows application, and you can also get it as a Chrome extension. Here’s how to screen record with both options:
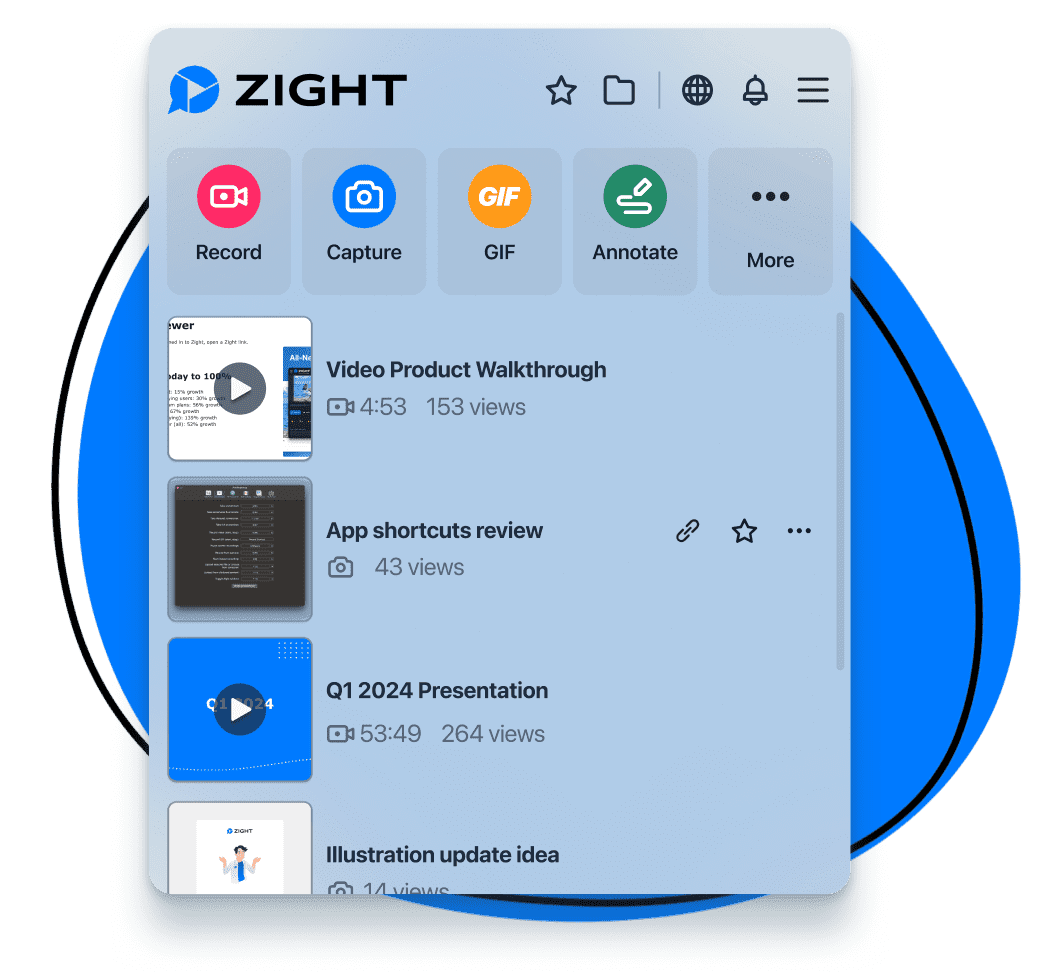
1. How to Record Screen On a Dell Computer With the Zight App
Have you already created a Zight account and downloaded the Windows app to your Dell laptop? Here’s how to start recording:
- Open the Zight app from your files. For easier access, we recommend pinning the app to your taskbar.
- Click Record, and a panel will appear, allowing you to choose between recording the full screen or a specific area. You will use your mouse to select the region. You’ll also want to choose your recording preferences, such as Screen Only, Screen & Cam, or Cam Only. Depending on your preferences, you can use a mic (toggle it on on the panel) and a camera (if you want to record your webcam).
- With Zight, you can even choose between Video and GIF (here’s how to record a GIF). When you’re done with the preferences, click Start recording and wait for the 3-second timer before you start recording.
- Want to make the process easier? You can also just press Alt + Shift + 6. When you do, the screen will dim, and you can click your mouse once to select Full Screen or click and drag your mouse to select the region. Then, click Enter or Start (after selecting the region), and Zight will start recording using your previous recording preferences.
- Don’t forget to annotate your videos as you record them. When recording, click the edit feature at the bottom panel, and you can add different elements like the arrow, line, highlighter, pen, ellipse, and rectangle. You can even choose their color and duration on the video. When done, resume your recording and hit the Finish button when done.
2. How To Screen Record on Dell With the Zight Chrome Extension
As a productivity tool, Zight is a Chrome extension, so you can record your screen easily within your Chrome workflows. Once you install and enable the extension (pin it at the top bar, too!), recording the screen is as easy as pie.
Here’s how:
- Click Record, and choose your recording preferences. As with the app, you can record the Screen Only, Screen & Cam, or Cam Only. In addition, you want to turn on the mic and camera if you’ll be using them.
- If you choose the Screen Only and Screen & Cam options, you will get a pop-up window that asks you to choose more recording preferences. For instance, you can opt to record a single Chrom tab, a window, or the entire screen. When you select, Zight will ask if you want to share, which means you can start recording.
- You can pause the recording, restart it, or delete it altogether.
- When done, click Stop Sharing, and the video will be uploaded to the cloud. You can continue editing it there.
3. How to Edit and Share Your Screen Recording on Zight
When you finish recording your Dell screen, the videos will be uploaded to your Zight dashboard, where you will get even more editing options. For instance, you can edit your video by trimming sections, splitting and merging sections, adding filters, and cropping.
In addition, you can add the video to your Favorites list or to a collaboration Collection. You can also set your access settings and allow comments and reactions. If you want to upload the video to a platform like YouTube or just want to save it on your computer, click the Download button
But, you can save your Dell laptop storage space by storing this video in your Zight cloud account.
Even better, you can send the video link to recipients who may not even be using Zight. They will be able to view it online as long as they have the internet. You can share your video directly to platforms like Trello, Asana, and Slack or embed it in an email. Zight also supports uploading videos as HTML files for integration into websites.
How to Record Screen on a Dell Laptop Using Built-in Windows Tools
A Dell laptop runs on the Windows OS, so this means you can access the free screen recording tools for Windows. The best ones are the Xbox Game Bar, Windows Snipping Tool, and Microsoft Powerpoint. Here’s how to use each:
We’ve also written about how to capture powerful screenshots using Windows shortcuts. We bet you might need to grab a still image from the video you’re recording even as you choose the best app to screen record on Windows!
1. Windows Game Bar
The Xbox Game Bar is a native feature in Windows 10 and Windows 11, designed primarily for recording gameplay. It’s quite handy for other quick screen recordings. Here’s how to use it:
- Before starting, ensure that the Xbox Game Bar is enabled. Go to Settings > Gaming > Xbox Game Bar and toggle on “Enable Xbox Game Bar for things like recording game clips, chatting with friends, and receiving game invites.”
- Press the Windows key + G on your keyboard to open the Xbox Game Bar. You should see an overlay with several widgets related to gaming features, such as capturing, audio controls, and PC performance monitoring.
- To record your screen, ensure the window you want to record is open – you can record the entire screen. Then, look for the Capture widget. Navigate to the left side of the Game Bar overlay, and you find different options – the Camera icon is for capturing Windows screenshots, and the circle with the dot inside is the screen recorder that you should click. Alternatively, you can quickly start recording by pressing the Windows key + Alt + R.
Manage your screen recorder as follows:
- You can stop your screen recording by clicking the “Stop recording” button in the Capture widget or pressing Windows key + Alt + R again.
- Another important step: if you want to record audio, turn on the microphone option in the Capture widget before or during recording. Just click the microphone icon next to the screen recording icon to toggle it on or off. If on, you will use the native mic on your laptop, but Game Bar should detect an external mic you might be connected to.
Once you finish, the recorded video file is automatically saved to your computer. You can find your recordings in the “Videos” folder under “Captures,” unless you have configured a different save location in the Xbox Game Bar settings.
You can customize your game bar settings on Dell, such as changing the default save location or setting up different keyboard shortcuts. Go to Settings > Gaming > Captures. Here, you can adjust video quality, frame rate, and more according to your preferences.
2. Snipping Tool (Windows 11 Only)
If your Dell laptop is running on Windows 11, the Snipping Tool will allow you to capture static screenshots and also record screen. Here’s how:
- Click the Windows Key to bring up the Start Menu. Then, type snipping tool and open it. You can also press the Windows logo key + Shift + R to launch.
- Click the “New” button and select the “Record option.
- Use your mouse to click and drag the rectangular area of the screen you want to record. It can be just a tiny part or the entire screen. When you let go of the mouse, the Snipping Tool will start a 3-second timer and then start recording.
- Once done, click “Stop,” the recorded video will be saved in your Videos folder.
Unfortunately, you won’t be able to record audio with the Snipping Tool yet. You can also only save the file as MP4, and you cannot set a shortcut to start recording on the Snipping Tool directly.
3. Using PowerPoint
The final built-in screen recorder you can use on Dell is Microsoft PowerPoint. Yes, the software is designed for the best presentations, but by now, we all need powerful videos accompanying presentations. Here is how to screen record:
- Launch the PowerPoint application. You can start a new presentation or open an existing one.
- Navigate to the “Insert” tab on the Ribbon, then click “Screen Recording”. A control dock appears at the top of your screen. Click and drag your mouse to select the area you want to record. You can also select the entire screen by pressing the Windows logo key + Shift + F.
- Once you’ve selected the area, click “Record”. The recording will begin after a 3-second countdown. During recording, PowerPoint will capture both video and audio by default. You can disable these in the control dock if needed.
- To stop the recording, hover your mouse at the top middle of the screen to bring up the control dock and click “Stop”. Alternatively, you can use the shortcut Windows key + Shift + Q.
- The video recording will be embedded in your slide, and you can also save it as a separate file by right-clicking the video frame and selecting “Save Media as.”
Note: You can only screen record with PowerPoint 2013 and later versions. You need a third-party screen recording tool if you have an earlier version.
Best Tips for Screen Recording on a Dell Laptop
Whether you want to use the native screen recorders or the more powerful and versatile third-party app, you can d a few things to ensure you record high quality videos that would be ideal for professional settings. You can consider the following tips:
- Ensure your desktop is free of unnecessary icons and open applications. A clutter-free background provides a more professional appearance and focuses the viewer’s attention on the relevant content.
- Use a high-quality microphone to capture clear audio, which is particularly important for tutorials or presentations where clear communication is key.
- Choose the recording software that best fits your needs. Consider factors like ease of use, annotating and editing capabilities, and file format support.
- Always review and edit your recordings to remove any unnecessary parts. This enhances the overall quality and professionalism of your final video.
Wrapping Up
Finally! Now you know how to record your screen on your Dell laptop. You can use the native tools available: The Snipping Tool (if you have Windows 11), the Xbox Game Bar, or Microsoft PowerPoint. The process is fairly easy; you mostly just prepare your window or page, hit the record button, and start recording. You can then save the video in your ideal file location.
But if you want a professional-looking screen recording, we recommend using Zight. You get a free trial and can record different types of videos, including full-screen, or select a region. You can also record your webcam with the screen recording, and Zight supports different video file formats like MP4, MOV, and WMV.
So, wait no more. Get Zight today and enjoy a tool that meets all your screen recording needs on your Dell laptop!